Table of Content
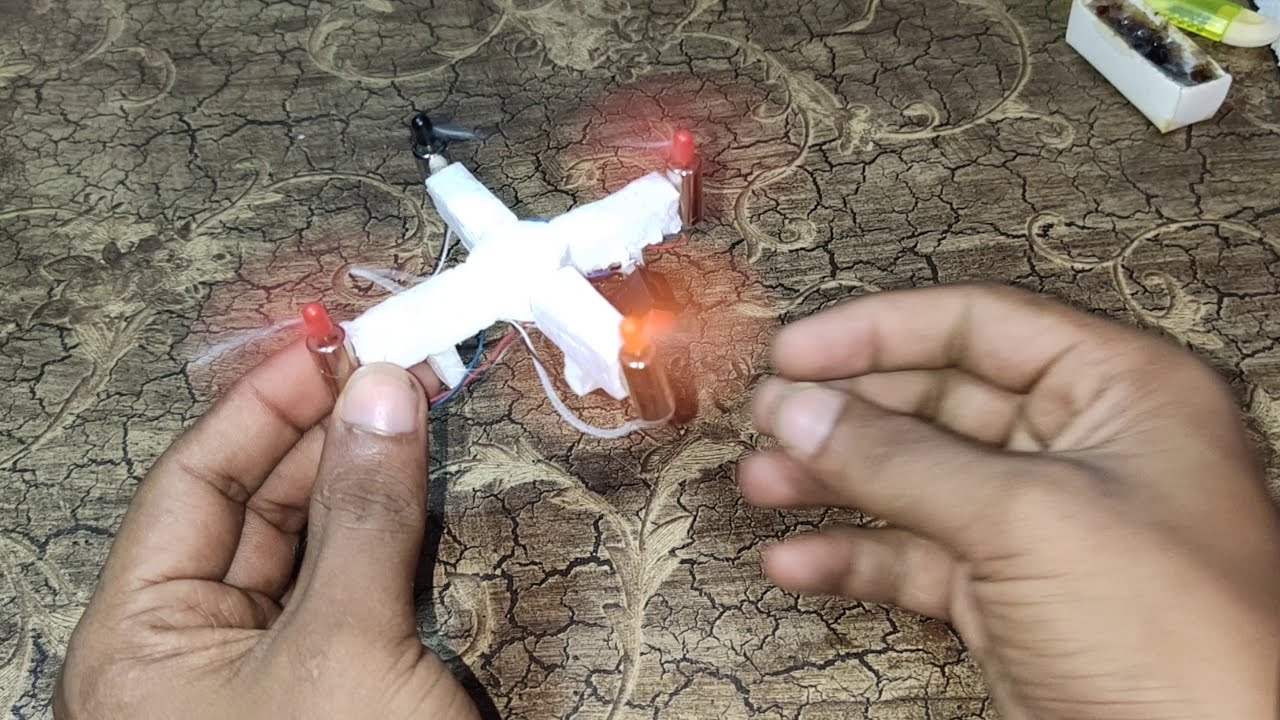
Make sure to make the VTX stable by pushing the 3d printed part into the pylons at the back of the drone. However we need to solder the motor wires on the ESC first. Move with the soldering iron from left to right if you have the iron on the right hand, so you have a clear path to the right and it doesn’t touch any previously soldered pads. As we mentioned, we’ll be using the Mamba Flight controller and start soldering things on it according to the manual it comes with (has the legend for the entire thing so you won’t get lost). Most of the tools you’ll need for building a drone might be found already at your house considering you’ve done some electronic tinkering here and there. FPV goggles must be bought so they work with your FPV camera.
The drone control layout is quite intuitive and easy to operate. Just be sure to remember which side of the drone is the front, so that you can remember which way is forward and backward. For added safety, keep your drone in GPS mode while flying; so that it hovers and maintains its position if the input to the control sticks is ceased. The purpose of this article was to guide you to the FPV hobby as it’s the best way to satisfy your building hobby properly. I also consider it by far the most fun way to fly a drone. There are mini drones kits you can buy and fly at home, but in general it’s cheaper to buy a beginner indoors drone.
Step 9: Connecting the FPV System
To mount your PDB you are going to use nylon or rubber standoffs which normally fix through the frame and allow you to build up a stack of boards. Sadly frames often come flat packed as a series of carbon fibre parts meaning your going to have to put in some work to get them ready! When doing this take care to note where all the plates go and keep in mind where you intend to mount your components and run the wires. It doesn't matter which you use however some radios more naturally lend themselves to one of the other. Another point is the general quality of the gimbals in the remote, high quality hall sensor gimbals will feel a lot smother than cheaper versions.
Other features are channel searching and OLED displays, these features ay not be necessary for you if you are planning to fly alone or not too far. The best way to improve your video range or clarity isn't necessarily increasing the VTX output power but is actually getting a good pair of antennas. Those black dipole antennas you get with cheap goggles or VTXs referred to as 'rubber duckies' really don't perform well and are often binned and replaced with a high end antenna. An FPV setup requires two antennas, one to send out the video and another to receive it. Switching Options - If you do intend to fly with other people or at race events then you'll often have to change channel to ensure everyone can get clean video. Traditionally VTXs have a small push button you can use to cycle through video channels, bands and power levels, the channel is then shown via a LEDs on the VTX itself.
STEP 3 - Connecting to Betaflight and settings
This is one of the best and at the same time smallest VTX you can buy right now on the market. It comes with an included antenna, but you can as well upgrade the antenna at a later time. A very long range (3km+) Receiver with a super small size, this is a no brainer, especially considering how cheap it is. They can be just as well made from the same materials as the frame, including wood. That’s why in the build I’ll go into below I’ll give you the direct answer for a build that works, so you don’t have to test things out yourself. The frame is an integral part of the drone that decides its overall shape and keeps the structure together.

Taranis wise your options would be either the QX7 or X9D and their deluxe plus or special addition variants. Antenna type - Different antenna designs have different performance, without going into too much detail dipoles perform poorly where as circular polarized antennas perform well. More innovative recent antennas such as TBS Triumph or Pagoda push video range even further. A patch antenna can be used to increase range but only in one direction and should only be used as a receiving antenna. Power Output - Different VTX's pump out your video at different power levels.
STEP 6: Setting up the SMART AUDIO for the VTX
Polarization - The antenna itself can come in tow flavors RHCP and LHCP both work the same but they must match in order to get a signal. By having different polarizations it is possible to get more pilots in the air at once. Connector Type - Antennas come with two connector types SMA and RP-SMA both can talk to each other fine but you need to make sure they match your VTX or goggles connectors. Lens - Different sized lenses give a different fields of view which allow the pilot to see more around them. The higher the field of view the more fisheye effect you will also have to deal with. ESCs are reasonably intelligent and can run on different software.

His channel has 1000+ videos with invaluable information that I suggest you take a look at to improve your understanding of all things FPV. The motors can be fixed down with screws and again it is a good idea to use thread locker as opposed to tightening them too much as you will be damaging the motor itself here. Parallel charging adds even more complications and risks. Be sure you read up and understand what you are doing before attempting to parallel charge!
Drone Flight Controller
I've shared it starting at the VTX time point but take a look form the start if you want to see his entire build. Exactly the same principle as before is used here however you are connecting the positive wires and the negative wires to their respective pads. Again like with the motor wires I like to leave a little slack to keep things safe in a crash.
Even though these BNF Configurations are great, by skipping the building part you will find it much harder to diagnose the problem and much harder to fit the new parts. If you understand your build completely you can often fix it without hassle and probably guess what’s failed. Don't move on to the next step until the pieces of the frame are secure and any glue you've used has dried.
Land the drone and ensure the propellers have stopped moving. When the drone is safely on the ground, and the motors have stopped, power the drone down, turning off the battery supply before moving the drone or removing the propellers. First, we’ll need to solder some things to the flight controller board and we’ll start with the receiver, because why not. The transmitter is the controller that you’ll be using to steer the drone in any way you please as well as have switches and buttons for diverse flight modes and functions. ESC, also known as Electronic Speed Controller is used for distributing power to all the motors and controlling their speed, as the name suggests.

You will often have a positive and negative wire to do this connecting to the Vbat and ground pads. Power - As with all other components we need to power them, almost all flight controllers require 5V however some have there own regulator and will run off battery voltage. You will need to check what input your flight controller requires for this.
During this process, you can remove the battery as it’s not needed anymore. Throttle - This is done by the left stick up and down movement and it makes the drone go up or down and increase the spin of the motors. There’s a column called Serial RX and it handles the receiver connection. In this case, it’s opened in the position UART1, which by default should be the correct one, but we’ll need to double-check to make sure it’s true. First of all either download the opensoftware Betaflightor get theChrome extensionas they both work in exactly the same way.
Discover local flying rules and regulations to help you fly with peace of mind. Some manufactures such as Matek have even started giving users full wiring diagrams such as the one below. This shows you exactly what pads you are looking to solder making things much easier for you. Note that all the red and black power wires we have already soldered! The following diagram is for the boards that I am using, it is however a little unique as there is a ribbon cable connecting the PDB to the flight controller. Run the wires from the motors to their respective speed controllers on the underside of the drone's frame so power can be transferred into the motors once you power the drone up.
About This Article
On some builds you may want to save this step until you have completed the software configuration in case some components are difficult to access. Your carbon fibre frame conducts electricity, it is important that you space the PDB away from it so that no components, pads or wires can come into contact with any carbon fibre. Tip - You should solder your battery connector and tin any pads before mounting your PDB, this gives you more space to work with. Capacity - The capacity of a cell is rated in mAh which stands for milliamp hours.
Others however simply have two pads requiring you to run a battery wire. The F7 chip is slowly coming in however we are not really making use of it yet. The older F1 chips present in the CC3D and NAZE 32 boards are now outdated and will not be supported by future software updates. BetaFPV CetusPro RTF Kit or Nazgul 5 make great starting drones and will teach you a lot about the hobby.